Cooking Guide
How to Cook Chicken Breast
Stovetop, oven, poached, and air fryer methods for boneless chicken breast, with real times, the temperature to cook to, and the habits that keep it juicy.
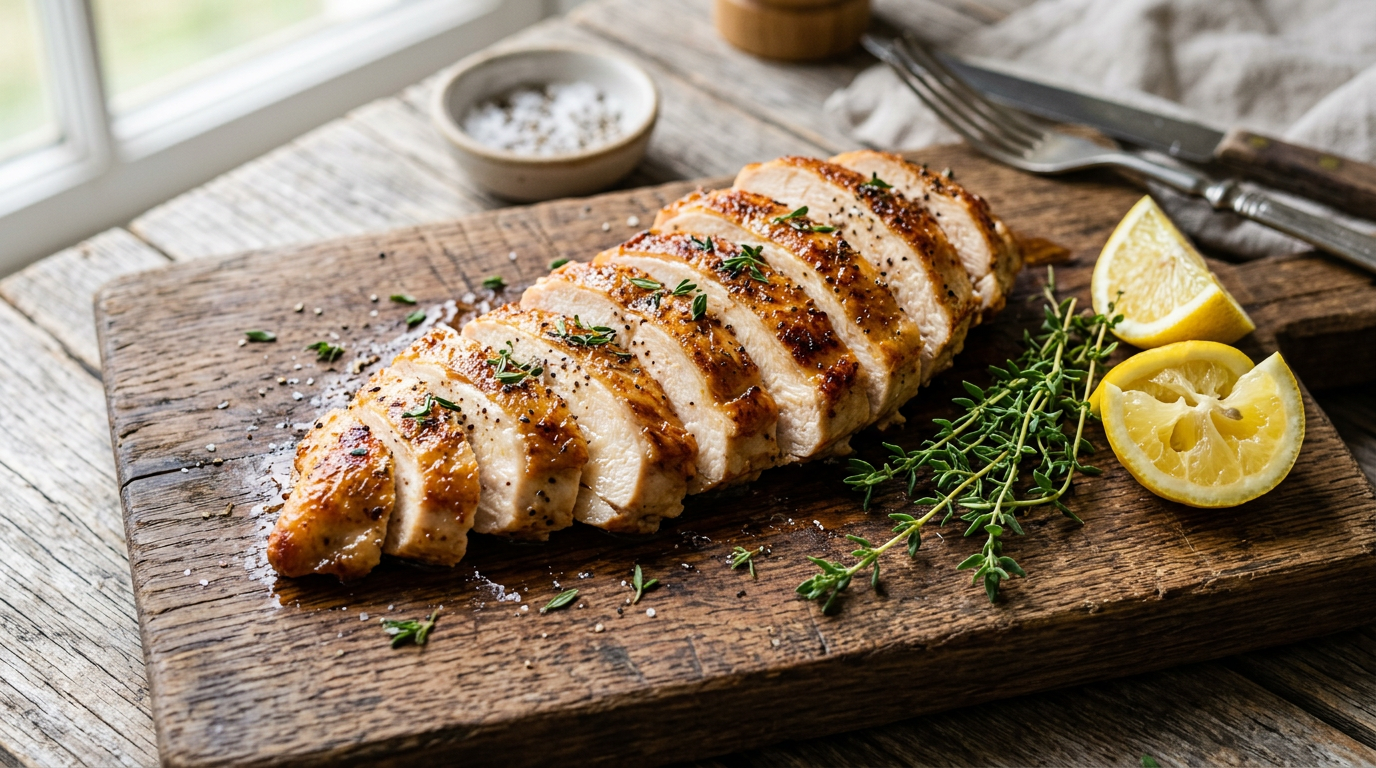
Chicken breast gets a bad name for being dry, and the meat is rarely the problem. It is lean, so it has very little fat to protect it once it goes past the safe temperature, and it is thick at one end and thin at the other, so half of it finishes long before the rest. Solve those two things and the same cheap pack of breasts turns out tender every time.
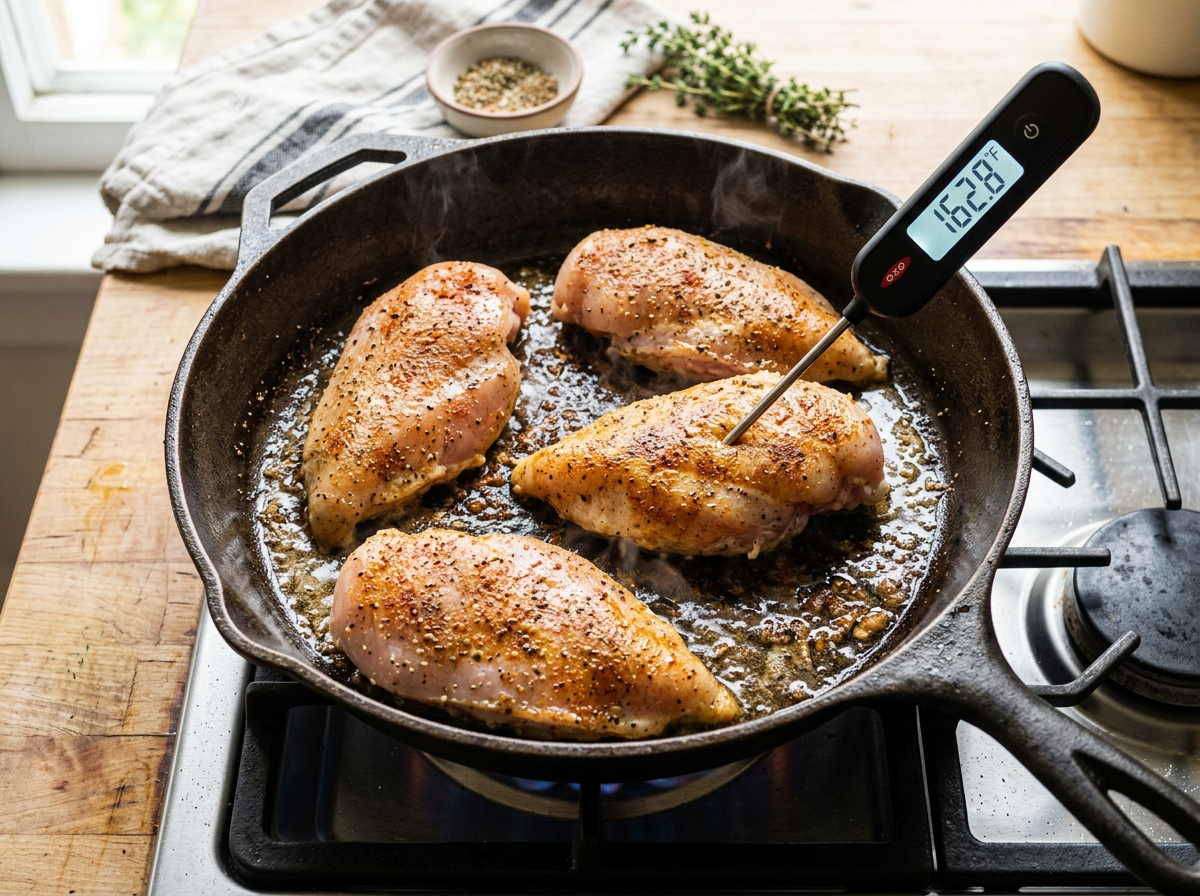
Everything below hangs on one number. USDA guidance is to cook all poultry to an internal temperature of 165°F (74°C), and that is the point to pull it off the heat rather than a minimum to blow past. An instant-read thermometer costs less than a couple of packs of chicken and removes the guesswork completely.
You will find the times for five methods, a seven step stovetop walkthrough, a troubleshooting table, and answers to the questions home cooks ask most. Whether you want a golden seared crust for dinner tonight or a batch of shredded chicken for lunches, start with the method table and work down.
Cooking times by method
Times assume a boneless, skinless breast of roughly 6 to 8 ounces at an even 1-inch thickness. Every method finishes at the same 165°F internal temperature.
| Method | Heat | Time | Best for |
|---|---|---|---|
| Pan sear, then finish covered | Medium-high, then low | 12 to 16 minutes total | Golden crust and a fast weeknight dinner |
| Oven bake at 425°F | 425°F (218°C) | 18 to 22 minutes | Two or more breasts at once, hands off |
| Oven bake at 350°F | 350°F (177°C) | 25 to 30 minutes | Cooking alongside other dishes at a lower temp |
| Poach in seasoned liquid | Bare simmer | 12 to 15 minutes, then rest in liquid | Shredded chicken for salads, soups, and sandwiches |
| Air fryer | 375°F (190°C) | 14 to 18 minutes, flipping once | One or two breasts with very little oil |
Thicker breasts need longer at the same temperature, and thin cutlets can be done in half the time, so treat these as starting points and confirm with a thermometer.
The 7-step stovetop method
This is the method to learn first. It gives you a browned crust and a juicy centre in under 20 minutes with one pan.
- 1.
Even out the thickness
A boneless breast is thick at one end and thin at the other, which is why the tip dries out before the middle is done. Either butterfly it into two thin cutlets or cover it and pound the fat end until the whole piece is close to an even thickness. Even thickness is the single biggest fix for dry chicken.
- 2.
Season generously and let it sit
Pat the surface dry, then salt and pepper both sides. Fifteen minutes on the counter, or a few hours salted in the fridge, helps the salt work past the surface and dries the outside so it browns instead of steaming. Add garlic powder, paprika, or dried herbs at this stage.
- 3.
Preheat the pan or the oven properly
For searing, heat a heavy skillet over medium-high with a thin film of oil until it shimmers. For baking, let the oven come fully up to temperature before the tray goes in. Chicken added to a lukewarm pan releases water and turns grey rather than golden.
- 4.
Cook the first side without moving it
Lay the breast down away from you and leave it alone for five to six minutes in a skillet. Moving it early tears the crust that is still forming. In the oven, there is no need to flip a baked breast at all.
- 5.
Flip, lower the heat, and cover
Turn the breast, drop the burner to low, and put a lid on for the remaining five to eight minutes. The trapped steam brings the centre up to temperature gently, so the outside does not overcook while you wait on the middle.
- 6.
Check 165°F in the thickest part
USDA guidance is to cook all poultry to an internal temperature of 165°F (74°C). Push an instant-read thermometer into the thickest section, avoiding the pan surface, and pull the chicken as soon as it reads 165°F. Colour and clear juices are not reliable tests.
- 7.
Rest five minutes before slicing
Move the chicken to a board or warm plate and wait five minutes. Slicing straight away pushes the juices onto the board instead of keeping them in the meat. Slice against the grain for the most tender bite.
The same temperature-first thinking applies to fish. If salmon is on the menu this week, the baked salmon guide covers its oven times and doneness cues.
Five habits that keep chicken juicy
- Buy breasts of a similar size so they finish together. Mixed sizes mean the small one is dry by the time the large one is safe.
- A brine of one tablespoon of salt per two cups of water for 30 minutes is the easiest insurance against dryness, especially for baking.
- Leave space between pieces in the pan or on the tray. Crowded chicken steams in its own moisture and never browns.
- Deglaze the skillet with a splash of stock, lemon juice, or white wine after the chicken comes out and you have an instant pan sauce.
- An instant-read thermometer is the one tool that changes chicken results the most. Guesswork is what overcooks it.
Fixing chicken that went wrong
Match the symptom to the cause and the next batch comes out right.
Dry and stringy
It went past 165°F. Check the temperature early and pull the chicken the moment the thickest part reads 165°F.
Cooked outside, pink centre
The breast was too thick or the heat too high. Butterfly or pound it even, then finish covered on low heat.
Pale with no crust
The surface was wet or the pan was not hot enough. Pat it dry and wait for the oil to shimmer before it goes in.
Rubbery texture
Usually a hard boil rather than a simmer when poaching. Keep the liquid barely moving and let the chicken rest in it off the heat.
Bland all the way through
Salt only touched the surface right before cooking. Season at least 15 minutes ahead, or brine briefly.
Juices all over the board
It was sliced too soon. Five minutes of rest keeps the juice in the meat.
What to do with cooked chicken breast
Cook two extra breasts and most of the week's lunches solve themselves.
- Sliced over a green salad with a mustard vinaigrette
- Shredded into wraps, tacos, or grain bowls
- Chopped into pasta with garlic, cream, and spinach
- Cold in sandwiches with mayo, celery, and herbs
- Diced into soup at the last minute so it stays tender
- Batch cooked for meal prep lunches through the week
Pair it with a grain from the rice guide or the quinoa guide, add a tray of grilled vegetables, and you have dinner. Our high protein meal plans build on the same batch cooking idea.
Storing, freezing, and reheating
Raw chicken belongs in a refrigerator at 40°F or below, used within one to two days or frozen at 0°F, where it stays safe indefinitely if it never thaws. USDA FSIS recommends thawing only in the refrigerator, in cold water changed every 30 minutes, or in the microwave, never on the counter. Cooked chicken should be refrigerated promptly in shallow covered containers and eaten within three to four days, reheated to 165°F. Slice it before freezing so portions thaw quickly for fast lunches.
Chicken Breast Cooking FAQs
What temperature should chicken breast be cooked to?
USDA guidance is 165°F (74°C) for all poultry, measured in the thickest part with an instant-read thermometer. Pull the chicken as soon as it hits that number, because every degree past it costs moisture.
How long does chicken breast take to cook in the oven?
A boneless breast of about 6 to 8 ounces takes roughly 18 to 22 minutes at 425°F, or 25 to 30 minutes at 350°F. Thickness matters more than weight, so confirm with a thermometer rather than the clock.
How long do you pan cook chicken breast?
Plan on 12 to 16 minutes total for an even, roughly 1-inch breast. Sear five to six minutes on the first side over medium-high heat, then flip, lower the heat, cover, and finish until the centre reads 165°F.
Why is my chicken breast always dry?
Two causes account for most of it: uneven thickness, so the thin end overcooks, and cooking past 165°F. Pound or butterfly the breast, use a thermometer, and rest it five minutes before slicing.
Should you cover chicken breast while cooking?
Cover it for the second half of a stovetop cook so gentle steam brings the centre up without drying the crust. Baked breasts do not need covering, since the oven surrounds them with even heat already.
How long does cooked chicken breast keep?
Refrigerate it promptly in a shallow covered container at 40°F or below and use it within three to four days, reheating to 165°F. Raw chicken should be used within one to two days of purchase or frozen at 0°F.
Sources and further reading
Keep cooking
Put your chicken to work in any of these guides and recipe collections.